Admin Tab | Enterprises
An Enterprise is the office/company/location where a job is posted for Talent to work. If a new Enterprise is needed at any point, it can be done from within the WorkN portal.
How to Add an Enterprise

- Begin by logging into a Marketplace Admin account
- Select the Admin tab from the top navigation bar
- Click the Enterprises secondary tab to see the screen above
Adding Enterprise Details
-
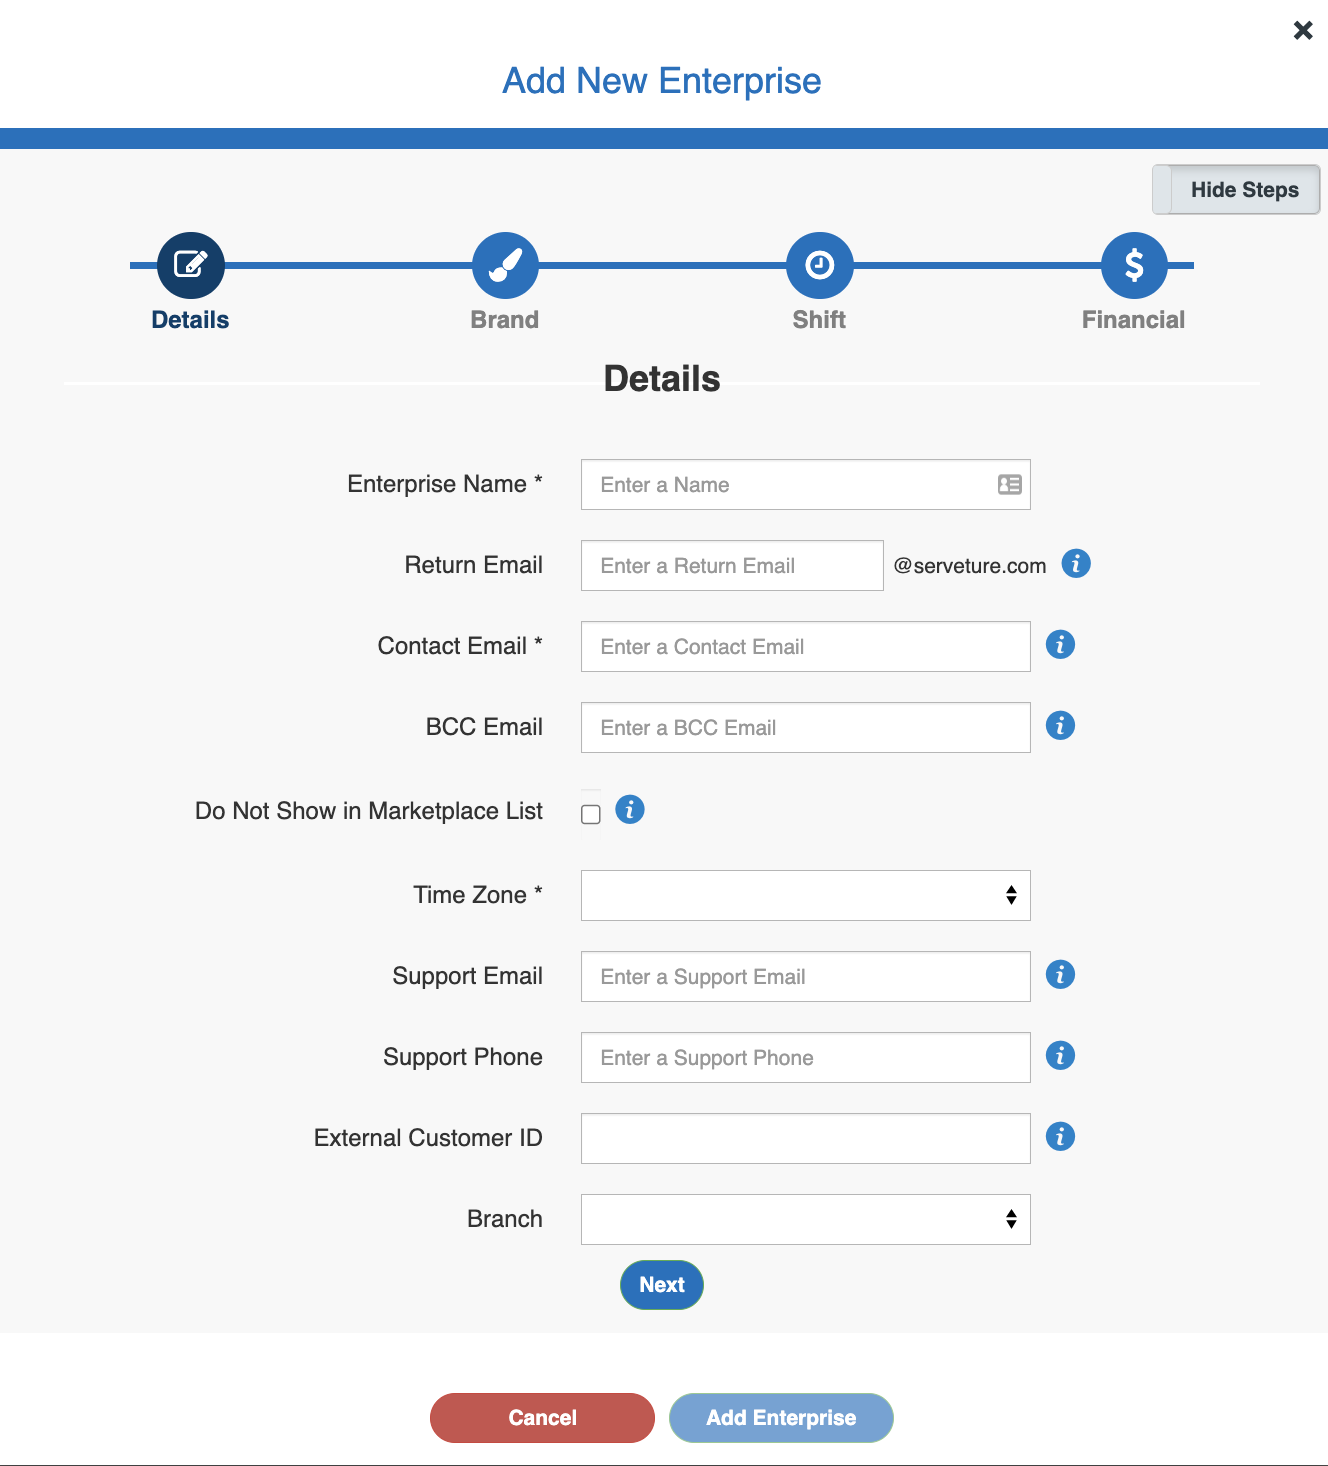
Enterprise Name - This will be the name that displayed in the upper left-hand corner of the banner for Enterprise Admins set up under this Enterprise
-
Return Email - An optional field that can be left blank unless Enterprises from this email should come from a different email than the Marketplace. The Return Email is what displays in the 'From' field of a Talent's inbox
-
Contact Email - The email that Enterprise-level communications will be sent to (e.g. billing files, provider/worker extracts)
-
BCC Email - The email address that will be copied on any email communications sent directly to Talent. This feature is typically used for additional record keeping of Talent communications
Note: This is typically a high volume of emails being sent - we highly recommend designating an inbox just for these emails to avoid cluttering a primary email
-
Do Not Show in Marketplace List - Should be left unchecked unless advised differently by a member of the WorkN team
-
Time Zone - Allows the time zone where the Enterprise is located to be selected. US time zones are at the bottom of the list

-
Support Email - The email that will display at the bottom of the web portal for any support inquiries
-
Support Phone - The phone that will display at the bottom of the web portal for any support inquiries
Adding Custom Branding
Note: Branding properties are not required to be re-created for each new Enterprise. If there is already a URL set up that admins of this new Enterprise should use (e.g. sample.serveture.com), leave the optional Branding fields and colors untouched.
-
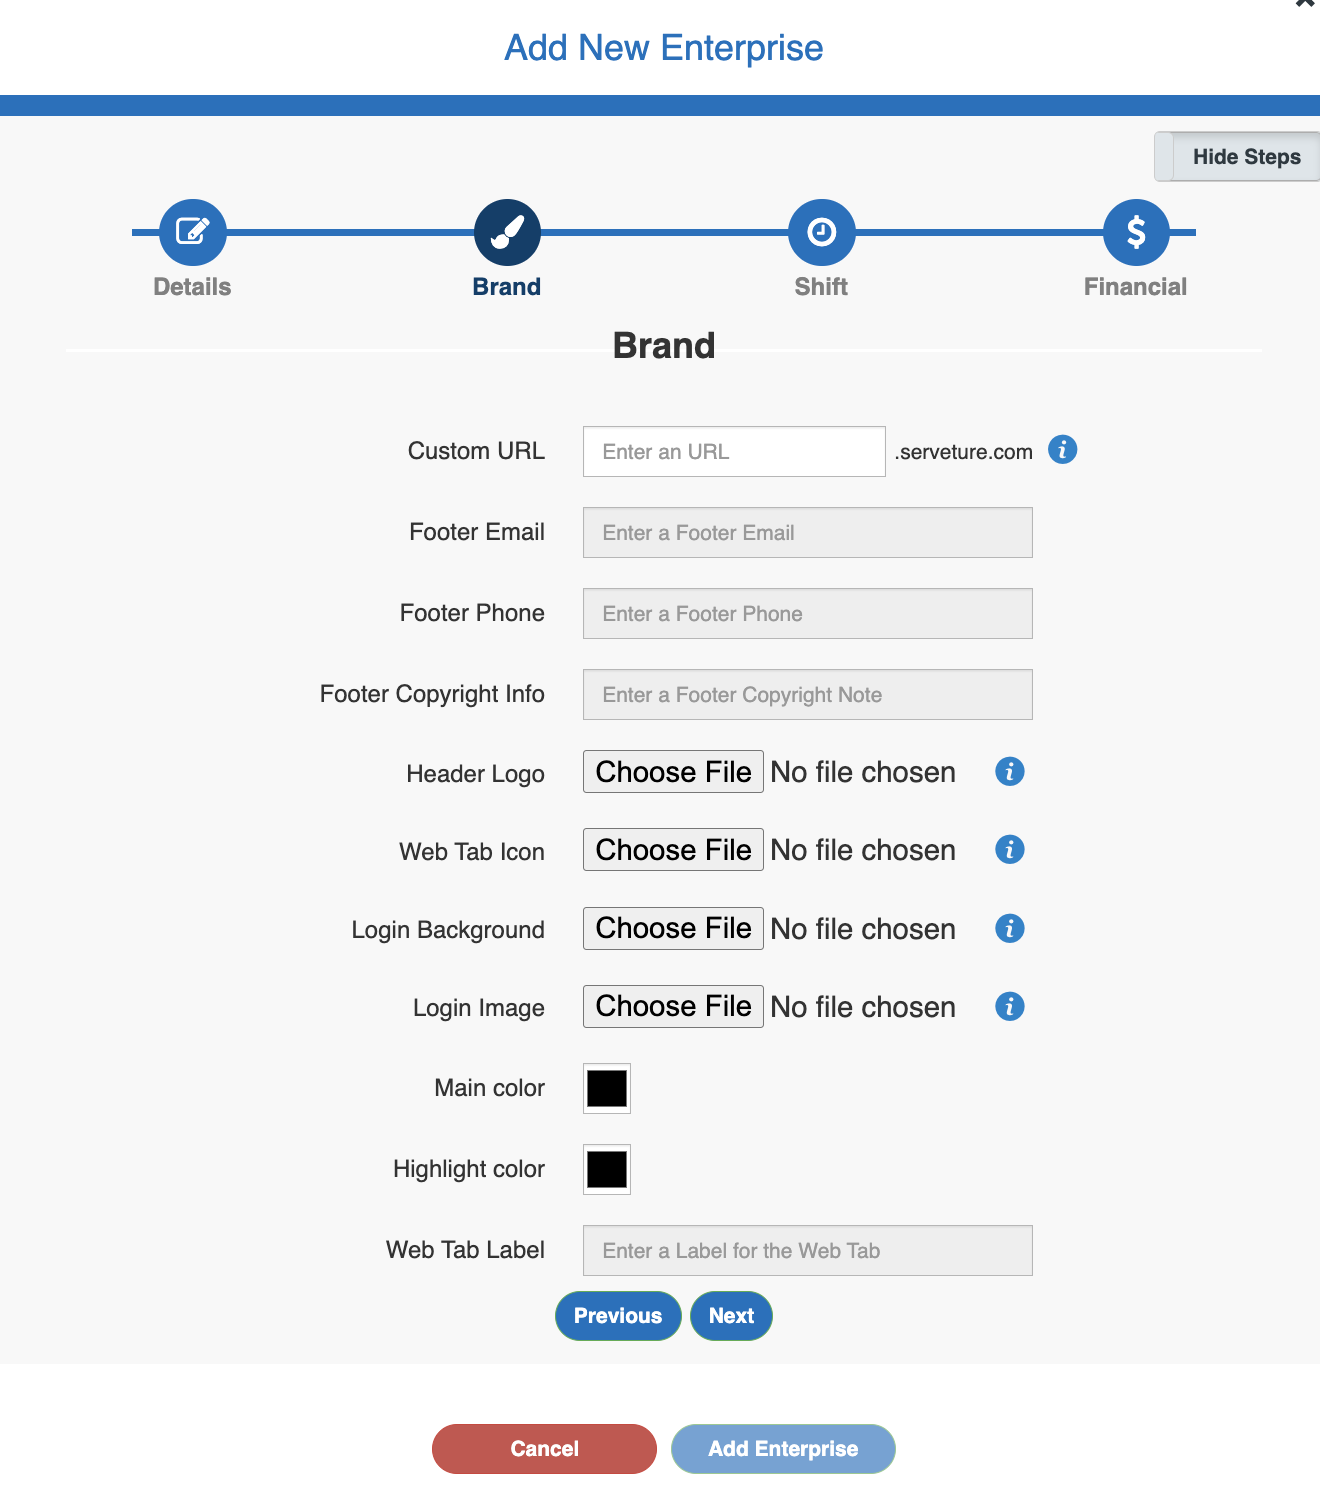
Custom URL - Customize the URL for this Enterprise. We recommend using a standard naming convention for consistency (eg. X-staffingcompany.serveture.com, Y-staffingcompany.serveture.com, etc). Only letters, numbers, and hyphens can be used; using other punctuation will not work in a web browser
-
Footer Details (Copyright) - These details are simply information that will display on the footer of the browser for this Enterprise URL
-
Header Logo - This image will be displayed in the upper left corner of the web portal for users of this Enterprise. It is the big logo on the left of the navigation bar. We recommend using a medium file size .png with a transparent background for the cleanest look
-
Web Tab Icon - Also known as a Favicon, the web tab icon is the small image in the tab of a browser (above the address bar). We recommend a small .png image with a transparent background for the cleanest look
-
Login Background - By default, the login background is grey. An image can be uploaded, with the recommendation that a large image with a gradient be used. Using a small image type will repeat to fill the entirety of the background creating a mosaic effect
-
Login Image - This is the image, typically a logo, that will display above the username and password fields on the admin login page for this URL. We recommend a medium-sized .png with a transparent background for the best look
-
Main Color - This is the color that fills the navigation bar and serves as an accent color on buttons and links. Using very dark or very light colors may make text on the page difficult to see so we recommend bright colors or rich pastels
-
Highlight Color - This is the color that a tab in the navigation menu will change to when selected or hovered over
-
Web Tab Label - This is the short title or description that displayed on the web tab next to the Web Tab Icon/Favicon at the top of the screen
Adding Client-Specific Shift Requirements
Note: When in doubt, leave these alone as they will default to the values that were decided on during initial configuration. If you would like changes specific to this client, please consult with your WorkN Relationship Manager.
-
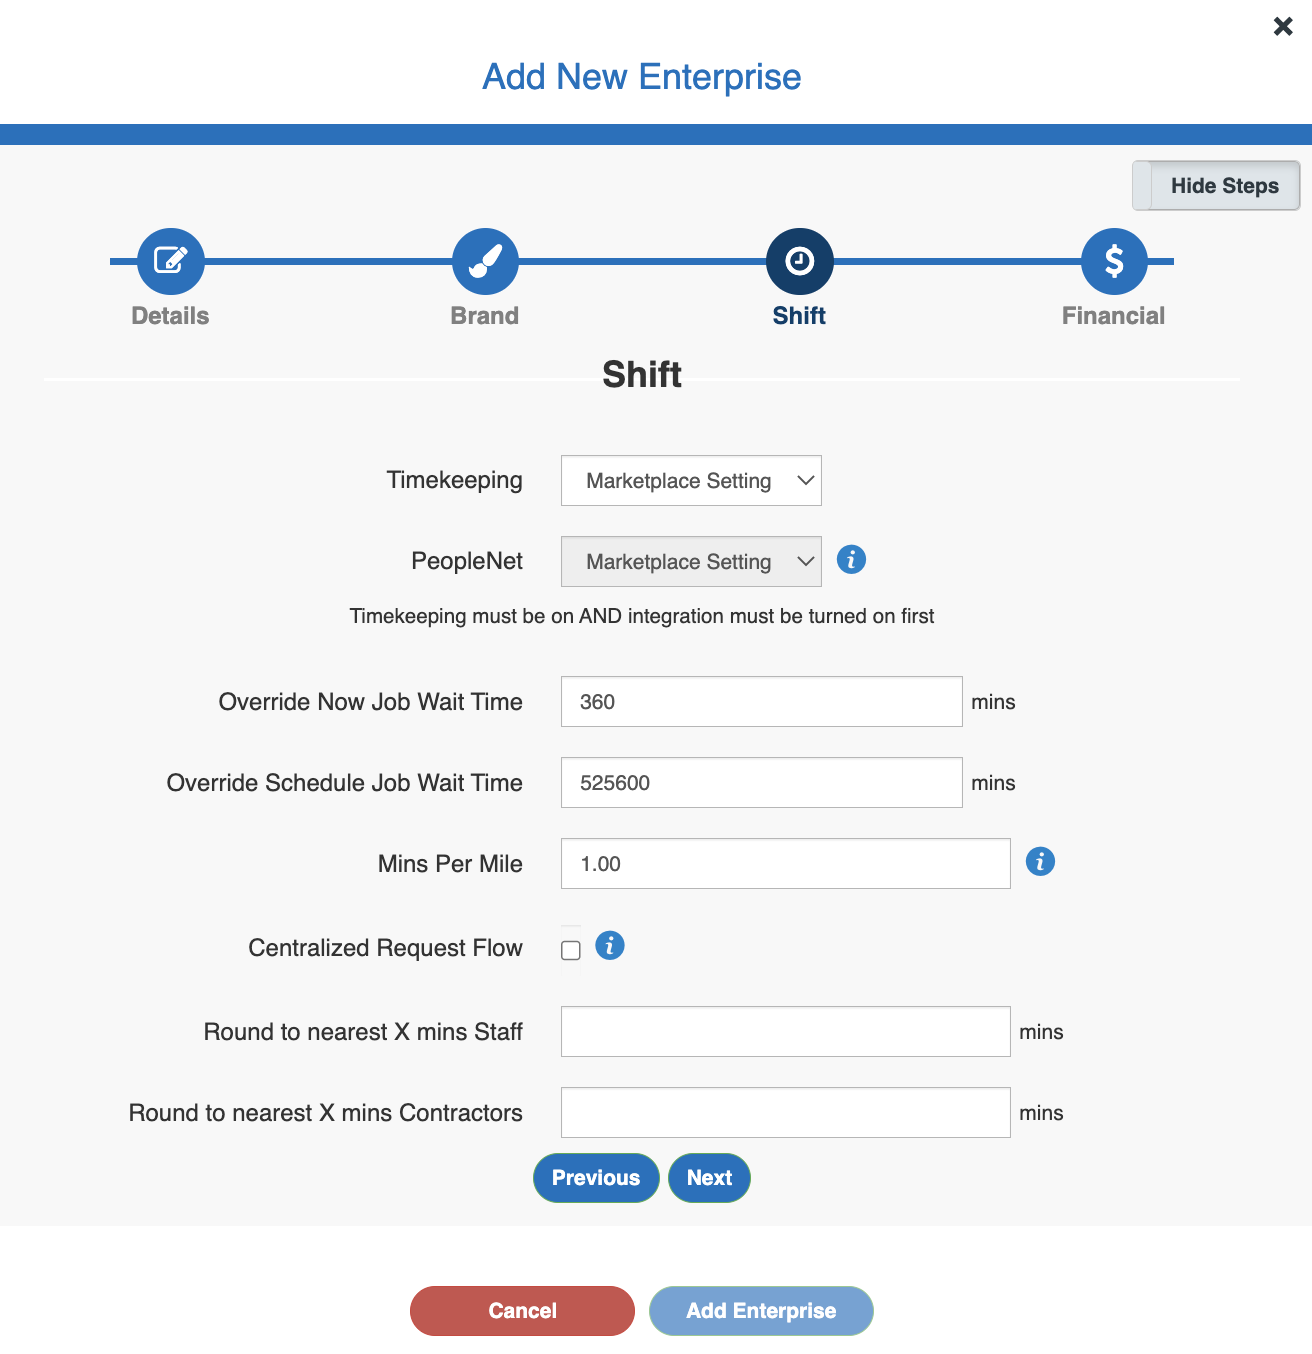
Override Now Job Wait Time - This field overrides the Marketplace default for offer expiration on the Now (ETA-based) request type, or how long a shift will sit on a Talent's phone before it is withdrawn and canceled as a time-out (under the circumstances that the shift was not picked up). The value that displays will be the Marketplace default - in most cases, leave this as-is. If this client has different requirements, change the value to reflect the longer or shorter expiration time in minutes
-
Override Scheduled Job Wait Time - See description above for Now requests. This field is the same, but for Scheduled requests
-
Minutes Per Mile - This value is used for New jobs in the formula that considers if a Talent could make it to an ETA-based (Now) shift. Most Marketplaces are defaulted to 1 minute per mile which means a Now request with Start in under 1 hour would send to all Talent within a 60 miles radius (2 minutes per mile would send to workers within a 30 mile radius, etc.)
-
Centralized Request Flow - When turned on, this box enables Dispatch/Centralized mode which requires that every session be approved after its initial request. This is typically used when a requester has direct access to request and the staffing company would like to approve those requests before going to Talent. If this approval stage is not used for this customer's workflow, leave this box unchecked
-
Round to nearest X mins Staff - Staff in this context refers to W2s of the client Enterprise. If the client is bringing on their own workers and have rounding rules for Time Keeping, modify this field from real-time (1 min) to rounded time (eg. round up to nearest 30 minutes)
-
Round to nearest X mins Contractors - Same as above but Contractors refers to workers provided by the staffing company
Updated 8 months ago